Looking for clever ways to ‘jazz up’ your do-it-yourself yearbook design? How about trying some frames and effects on your photos? Our very own Yearbook Hub software includes many frame options, but that doesn’t mean you can’t make your own before you upload your photos!
Frames
There really is no end to the amount of frames you can use with your yearbook photos – from simple block colour borders to the fanciest decorative frames. The style of your yearbook, or the design theme that you’ve decided on, will determine the frame style which will suit best. Of course, you can always throw the rule book out of the window and experiment! It’s your yearbook after all.
Block colour borders are simple to create in Photoshop by adding a stroke to the layer. Adding a border will help lift your image from the background and give a neater edge to your photo.
“How?” In Photoshop, select the layers palette and double-click on the layer and select ‘Stroke’ at the bottom of the menu, adjust the size and colour. If your image fills the canvas, change the stroke to position ‘Inside’. You can also change the ‘Fill Type’ and make it a gradient of two or more colours.
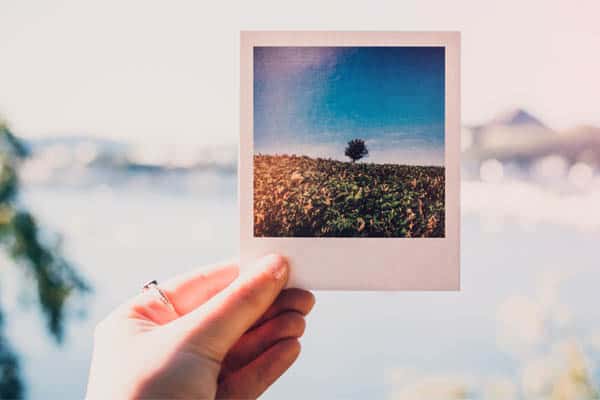
Another popular scrapbook-style frame to use is a Polaroid. If you can find a Polaroid photo of your own, scan it in and place your yearbook image over the top of the original photo. If you haven’t got one to scan, you can draw one, click here for a great tutorial (suitable for those who are familiar with Photoshop). In most programs, you should be able to achieve the same effect by placing a rectangle (or picture box) inside a white rectangle with a drop shadow.
For a quirky mix and match style ask everyone to bring in a frame which you can scan (or they can scan it at home). Use these for profile page photos or montages to give an attractive 3d-look. Use any other objects or resources around you. Scan them in and make frames out of, for example, string, twigs, leaves, pencils, paper clips, art brushes, etc.
It may be tempting to search Google Images for ‘nice photo frames’ and take the easy way out by using pictures from the internet. We don’t recommend this, as these images are most likely to be low resolution (72dpi) and will look very low quality when printed. Also copyrights may well be attached to internet images and should never be used without permission from the owner.
Photo effects
The key to photo effects is to keep them subtle – don’t overuse them to the point that the person in the image is no longer recognisable. Photoshop offers a huge range of filters and effects; one of which is ‘Black & White’. If you are using a Year 7 and Year 11 photo of each person on your profile pages, then consider making the Year 7 photo black and white as it’s a past image, reminiscent of how that person looked back then.
“How?” In Photoshop go to Image > Adjustments > Black & White adjust each colour channel until you are happy and hit ‘OK’. If you change your mind, simply step back using your ‘History’ window.
Have you had a great photo-effect idea for your yearbook project? If so, tell us about it using the comment form below, or contact SPC Yearbooks by email.


